Roasting the Perfect Turkey in an 18-Quart Electric Roaster
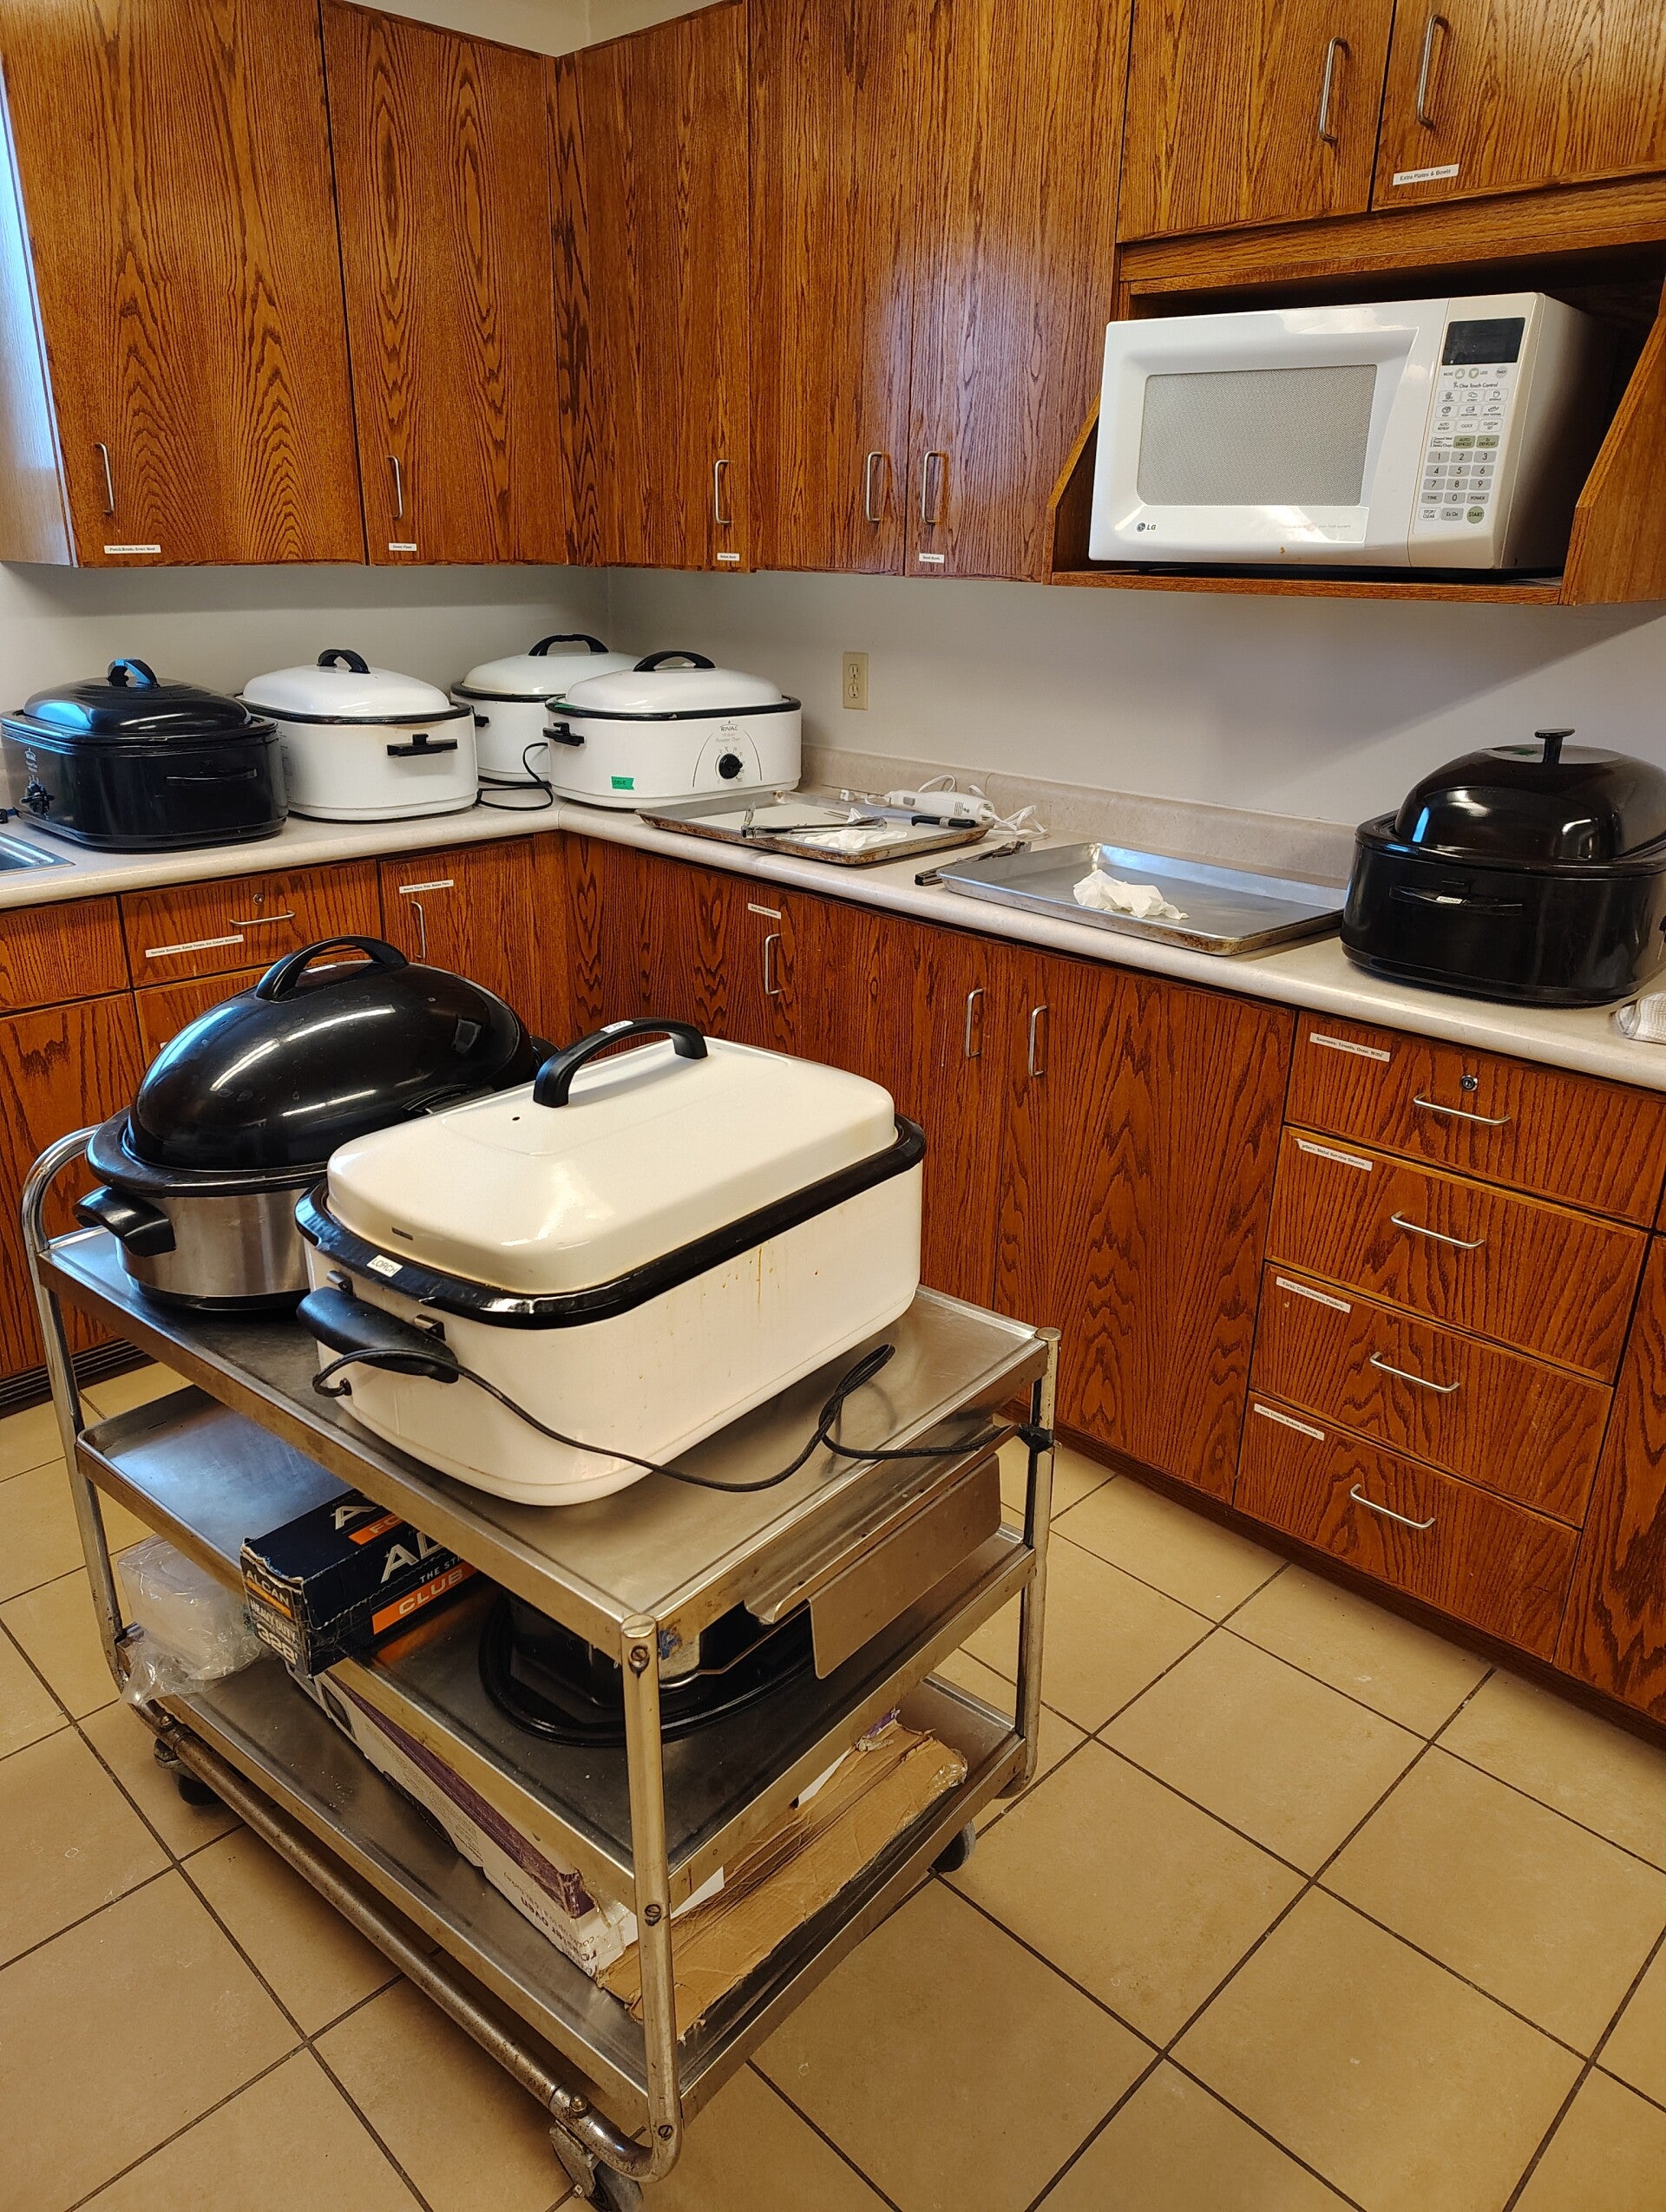
Why use an electric roaster? An 18-quart roaster frees oven space, delivers steady heat, and yields moist meat with crisp skin when done right. The key is temperature control, proper aromatics, and a brief rest before carving. This method adapts well for holidays or any large gathering.
Pick The Right Turkey And Prep
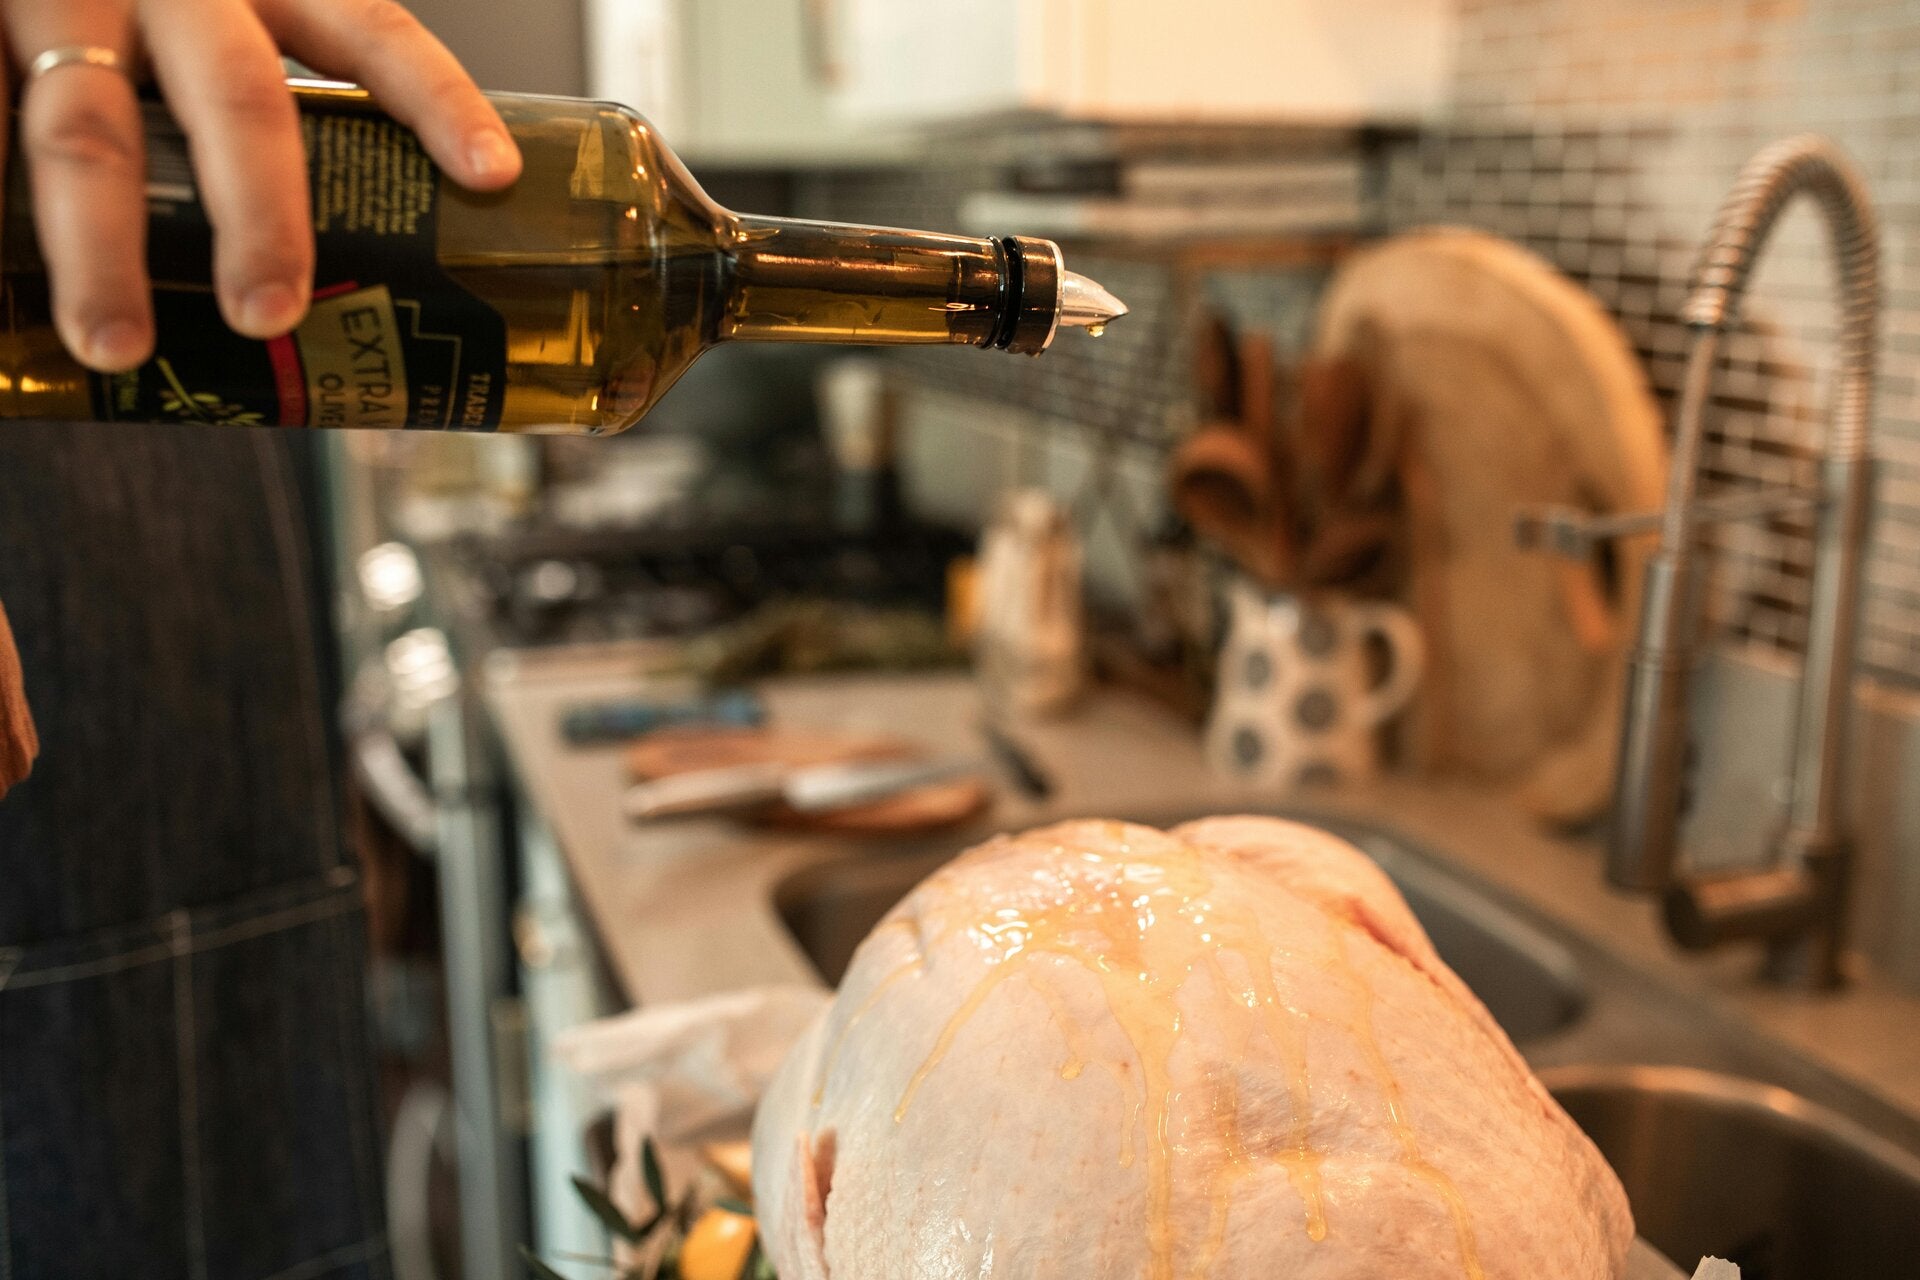
Choose a thawed 12–14 pound turkey for most roasters, or a larger bird if you’re comfortable fitting it. Remove giblets, pat dry, and brine if you like, but this isn’t required. A light coating of oil mixed with a touch of baking powder helps crisp the skin.
Aromatics If Dessired
Stuff the cavity with aromatics like quartered onions, citrus (orange or lemon), garlic cloves, and fresh herbs (thyme, rosemary, sage). They perfume the meat from the inside, enhancing flavor without needing extra butter or salt. This is optional.
Temperature Strategy
Preheat the roaster to its maximum (around 450°F if your model allows). Place the seasoned turkey breast-side up on the rack inside the roaster pan. After a 20–30 minute initial blast, reduce the heat to a steady 325°F for the remainder of the cook. This two-stage approach helps the skin brown quickly while the meat remains juicy.
Use an instant-read thermometer. Target 165°F in the breast and 175–180°F in the thigh for safety and tenderness. Let the turkey rest, lid on the roaster, for 20–30 minutes before carving. Resting lets juices redistribute, keeping meat moist to the last slice. Collect pan drippings; skim fat if needed and whisk with a little stock or water to loosen. A slurry of cornstarch and cold water can thicken the gravy to your preferred consistency. Safety notes: Keep the roaster covered as much as possible to retain heat. Do not remove the lid frequently, which can extend cooking time and dry out the meat.
Tender Roasted Turkey in an 18-Quart Electric Roaster
Servings: 12–14 (plan for 1lb raw turkey for each guest)
Total time: about 3.5–4 hours (including resting)
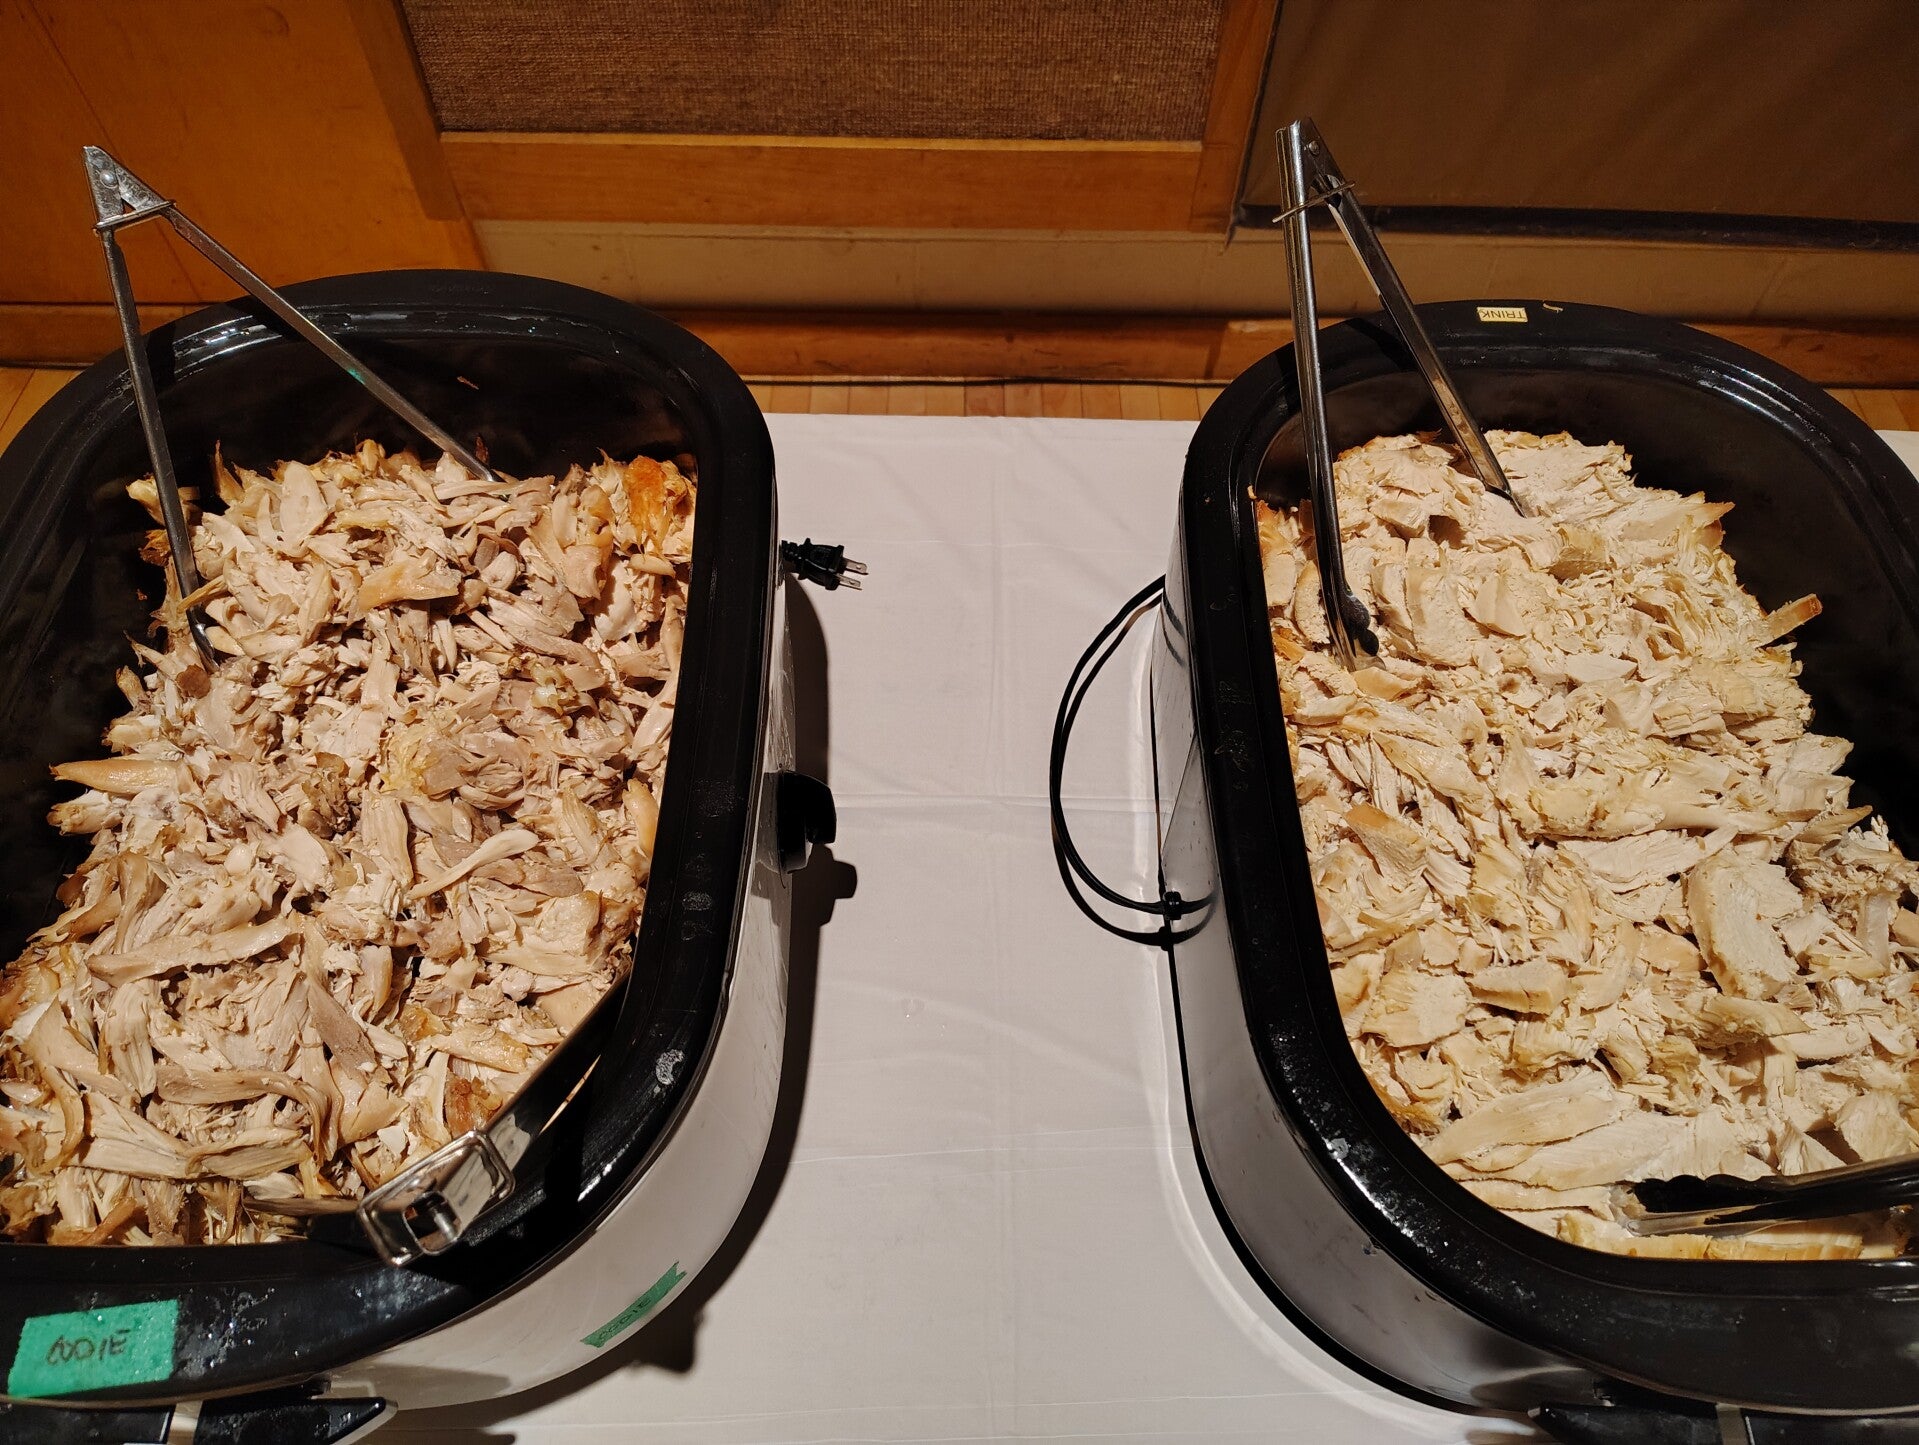
*For all the dinners, I placed the turkeys in the roasters, added 4 cups of water and sprinkled a tablespoon of salt over the whole turkey and let it roast. Once they reached the safe internal temperature, I let them rest without disturbing for 30 minutes to 60 minutes. We then carved each turkey as fast as possible, putting them back into a warm roaster with some turkey drippings in the bottom and drizzling ontop as we filled the roasters with carved turkey. This will keep the turkey moist and hot until ready to serve.
This recipe below, gives great instructions on the process of roasting a turkey in and electric roaster and gives another great flavour combintation for those who would like to infuse a little more flavour into your turkey.
Ingredients
-
12–14 lb whole turkey, thawed
-
2–3 tablespoons olive oil
-
1 teaspoon baking powder
-
1–2 oranges, quartered (or lemons)
-
4–6 fresh thyme sprigs
-
4–6 fresh rosemary sprigs
-
4–6 fresh sage leaves
-
Salt and freshly ground black pepper
-
1 small onion, quartered (optional)
-
2 cups low-sodium chicken or turkey stock (for the pan)
Instructions
-
Prepare the roaster and turkey
-
Preheat the electric roaster to its highest setting (about 450°F if your model allows). This initial blast helps the skin start browning.
-
Pat the turkey dry inside and out. Mix olive oil and baking powder in a small bowl. Brush the mixture all over the turkey, including under the skin where possible, for extra crispness.
-
Aromatics and stuffing
-
Place orange quarters and fresh herbs inside the cavity. If using onion, tuck a few pieces inside for additional fragrance.
-
Roasting setup
-
Place the roast rack in the roaster skillet and set the turkey breast-side up on the rack. Add about 1–2 cups of stock to the bottom of the pan to contribute moisture and pan flavors.
-
Insert the roaster’s temperature probe if available, or rely on an instant-read thermometer later.
-
Cook in two stages
-
Stage 1: Roast at the roaster’s maximum temperature for 20–30 minutes to brown the skin.
-
Stage 2: Reduce heat to 325°F and continue roasting. Plan roughly 12–15 minutes per pound, adjusting as needed based on the turkey’s size and your roaster’s performance. For example, a 12–14 lb bird often finishes around 2.75–3.25 hours in this stage, but always verify with a thermometer.
-
Check for doneness
-
Use an instant-read thermometer to check the breast and thigh. Target 165°F in the breast, and 175–180°F in the thigh. If needed, continue roasting a bit longer, checking every 5–10 minutes.
-
Rest and finish
-
Remove the turkey from the roaster and tent loosely with foil. Rest for 20–30 minutes to keep juices redistributed. (For the large events, I just let them rest in the roaster with the lids on. I save the drippings to make gravy in the future or to add to my bone broth).
-
Make the gravy
-
Skim excess fat from the pan, then pour through a strainer into a saucepan and place on the stovetop over medium heat. If needed, add a splash of stock to the roaster to loosen browned bits. Whisk in a slurry of 1–2 tablespoons cornstarch mixed with 2–3 tablespoons cold water. Stir until thickened to your liking. Adjust flavours with salt or chicken bouillon (Better Than Bouillon is a good choice).
Tips for success
-
Do not lift the lid frequently; each opening loses heat and can extend cook time.
-
If skin isn’t browning enough, give it a brief blast at 425–450°F for 5–10 minutes near the end, watching closely.
-
If you brined the turkey, reduce added salt and monitor the final seasoning.